
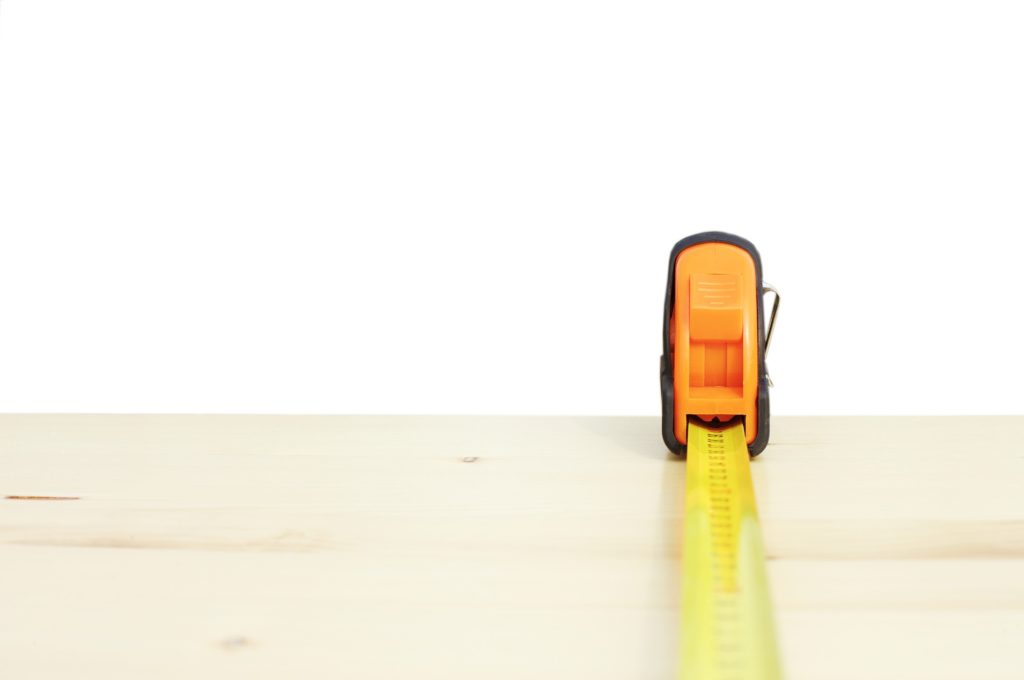
Before you go measuring, it’s better off calibrating your tape measure to ensure its accuracy. How to calibrate a tape measure is easy. It just needs a tool which is commonly called calibration tool. Once you diagnose your tape measure using the calibrator, then you can decide whether to continue using it or fix it or replace it.
Factors that Cause a Tape Measure Inaccurate
It’s important to keep your tape measure accuracy remain the same all the time. It might become inaccurate according to some reasons: the inaccurate linear-marks printing process, long use, and temperature.
1. Inaccurate Markings
A machine that prints or etches the markings on the blade inaccurately can ruin the accuracy and precision of the measuring tapes. Tape measure companies should license their machines and products to the concerning services before going to the market. Regular inspection will be held to keep the quality remain the same to all products.
2. Long Periode of Use
This is the most often problem that makes a tape measure inaccurate. After years of use, the troubles appear. The markings that fade can cause a high risk of human errors. The hook which getting loose can mess up the measurement.
3. Expansion or Stretching
Because the blade is made of steel which physically has linear expansion property, using it at high temperature is a bad idea. The best time to use it is when the surrounding temperature of about 20 °C (68 °F). If too hot, the steel will expand and the blade gains more length than before. If too cool, the steel will shrink and reduce its length.
However, we can ignore it because the length’s change is only a very small number. If we refer to the steel linear thermal expansion coefficient which is 7,2 x 10⁻⁶m/°F; and as the simulation, the increase in temperature is 50°F (from 68°F to 78°F); then we can calculate the gain of blade’s length is only 0.00036 meter per one meter steel. Further, if your tape measure is 25 feet which equal to 7.62 meters, then the total length gain is only 0.0027432 meter or 2.7432 millimeters or 0.108 inches which is considered as a small number and can be ignored.
Tools to Calibrate a Tape Measure
There is a well-known tool to calibrate a tape measure. It’s a gauge block or gauge block. Not only can it calibrate a tape measure, but also can be used to calibrate micrometers, calipers, and steel rulers.
A gage block might seem expensive for you. It costs more than the average of the best tape measure ones. In other words, you are better off buying a new one. Don’t worry because you can switch to a steel ruler. While a gauge block provides highly accurate calibration, the steel ruler gives you an alternative and cheaper option. Just make sure you are buying a good one.
Easy Steps of Calibrating A Tape Measure
Unfortunately, not all inaccuracy sources can be solved by hand. You may have to replace it with the new one or you continue using it with a certain condition. Need to remember that not pushing yourself harder while using a steel ruler is adequate to calibrating a tape measure.

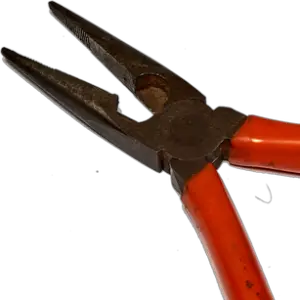
You have to prepare two kinds of pliers here. One is for locking the hook at the rivets area and one is for adjusting the hook tab. At least you have to have these two kinds of pliers as shown above. After having them, here are the steps:
1. Pulling Calibration
In this case, the hook is suspected of getting loosen than it’s used to. Hook your tape to the true zero point of the steel ruler. Once it’s been properly hooked, pull the blade until you notice the hook extends until excesses its maximum range. Now you can look at the markings on both the ruler and the blade. If they line up together, then it’s a good day. Conversely, you should fix it soon.
Repairing it is easy. By using two pliers that are considered able to fix it, bite the hook around the commonly-three-rivet area with the first plier accordingly; it’s very crucial to be very careful in order to keep the rivets unbroken; then adjust the hook tab with the second plier. Repeat the process as the previous paragraph orders until you find it line up.
2. Pushing Calibration
Using the same tools, you need an additional item such as a wall to be the place to push the hook. It may be a bar of wood. Firstly, set the blade’s hook so that it pushes against the wall. You’ll notice the hook moves inside. Once it slips inside, and you notice the hook stuck, it’s time to arrange them side by side. If both of the linear markings line up with each other, it’s accurate. Conversely, do the repairing.
By utilizing two pliers, adjust it inside or outside until the markings between the blade and the ruler line up. Don’t forget to never break the rivets. If it’s broken, it’s almost impossible to turn it into its initial form.
Your tape measure’s accuracy actually really matters. It’s a must-have thing to conduct a high-quality measurement. Your tape measure might not be made carefully and gradually downgrade, therefore you need a calibration tool. Calibrating a tape measure is simple and easy. Check the inside and outside measurements. If the troubles found, fix them with pliers. A real calibrating tool is expensive, you could switch to the alternative one, a 30-cm steel ruler can serve the same. Last but not least, keep in mind that you have to inspect your tape measure regularly to keep the accuracy consistent over time.
